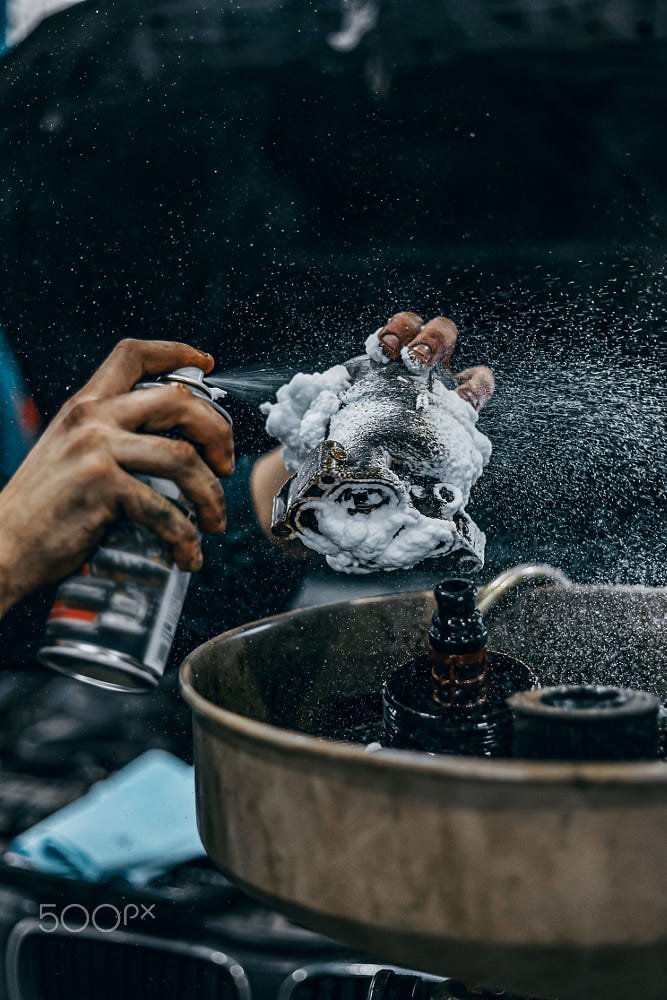
The PCV Valve is little more than a plastic piece performing a less-than-vital function. It is a piece of basic plumbing so to speak, but Federal regulations have made it much, much more important. The PCV Valve is actually an important component of your automobile’s emission control system. Should the PCV valve get clogged, the emission control system no longer provides adequate functionality.
What does a clogged PCV Valve cause?
When the PCV valve gets stopped up you will likely experience drivability issues pretty quick. You may be experiencing slow acceleration, poor idling and loss of power among other things.
How do I change my PCV Valve?
This is actually a pretty quick auto repair. Start with buying a replacement PCV valve and grabbing the needle nose pliers. Next you will need to determine where your PCV valve is going to be found. It will be found somewhere on the crankcase.
How do I find the PCV valve?
The easy way to locate the PCV valve is to have a look at your auto’s service manual. This particular valve can be somewhat hidden and/or hard to get to, but then again, there are just as many that provide easy access sitting right atop the engine. Either way, what you’re looking for is basically a small plastic plug that should be sticking directly into the top half of the engine. One end will have a rubber hose extending from it, and sometimes it will be found between two rubber hoses. One of these hoses will be connected to the engine.
How do I remove the PCV valve?
Now that you have found it, let’s get it out! You should start with removing the hose that connects to the top of the valve itself. If it is located between two hoses the valve will pull free very easily. If it installs directly to the engine or valve cover you will have to use the needle nose pliers to get a firm grip and pull it out that way. With this type of direct mount it usually takes a little elbow grease to get it out.
How to Install a New PCV Valve
Once your old valve had been removed, you will need to get the new one in. When you buy the replacement, most will only provide the PCV valve, but every now and then you will get one that also comes with new hoses. If getting new hoses with it is important to you, you may have to shop around a little.
So assuming your kit didn’t come with new hoses, let’s get to work. Step one will be attaching the valve to the hose. It is much easier to attach the hose with the valve still out of the engine. If your PCV valve was easy to reach, you will simply need to press it back into place. If yours was harder to get to, you will need to use the needle nose pliers again. This time you will need to grip the valve and carefully press it into the correct place. Occasionally you’ll find a valve that doesn’t want to slide back into place so easily. If it is necessary, you can use just a little bit of motor oil to help lubricate. Remember, motor oil is the ONLY lubricant that is safe to use.
So there you are. That is it! You have completed the replacement of your PCV valve. How does it feel to know you saved money AND you did it with your own two hands? I hope it feels great, because at Sanford’s Auto we want happy customers, be in our shop or visiting our website. If you need any type of auto repair and are in the Columbia, SC Auto Repair Pro ,region, remember to call on Sanford’s…where we always do it right the first time!

